Before you head out into the field, or the mountains, or the woods, prepping your scope for long range hunting is crucial.
Guest Post By James Eagleman
Long-range hunting is a test of patience, skill, and knowledge that pushes hunters to their limits. And it's precisely these challenges that make it so captivating for many. But before you head out into the field, or the mountains, or the woods, prepping your scope for long range hunting is crucial.
Tall Target Test
Before mounting your scope on a rifle, consider performing a tall target test. This allows you to get the correction factor from your scope. I like to start with my scope on a level jig.
I use the Bosch Laser Measure, measuring from the center of the turret to the target down range. Then, I’ll look through the scope to make sure everything is clear.
I will adjust my turret to 30 minutes. Once the jig is adjusted, ensuring the scope is pointed exactly at the bottom of the target, I’ll then dial back to zero, equaling 30 minutes.
Taking another look through the scope, I check where the reticle has stopped. And then I’ll dial back to the starting point just to be sure I’m stopping and starting at the same place every time (which is right around 7 inches on the tall target). Always be sure to check that there’s no parallax error when you’re performing your own tall target test.
Before you head out into the field, or the mountains, or the woods, prepping your scope for long range hunting is crucial.
Eye Relief
Now it’s time to pull the scope off the jig and mount it on the rifle. First, let’s make sure the eye relief is good for the person shooting. As a quick reminder, eye relief is the distance from the outer surface of the eyepiece lens to the position where the exit pupil is formed.
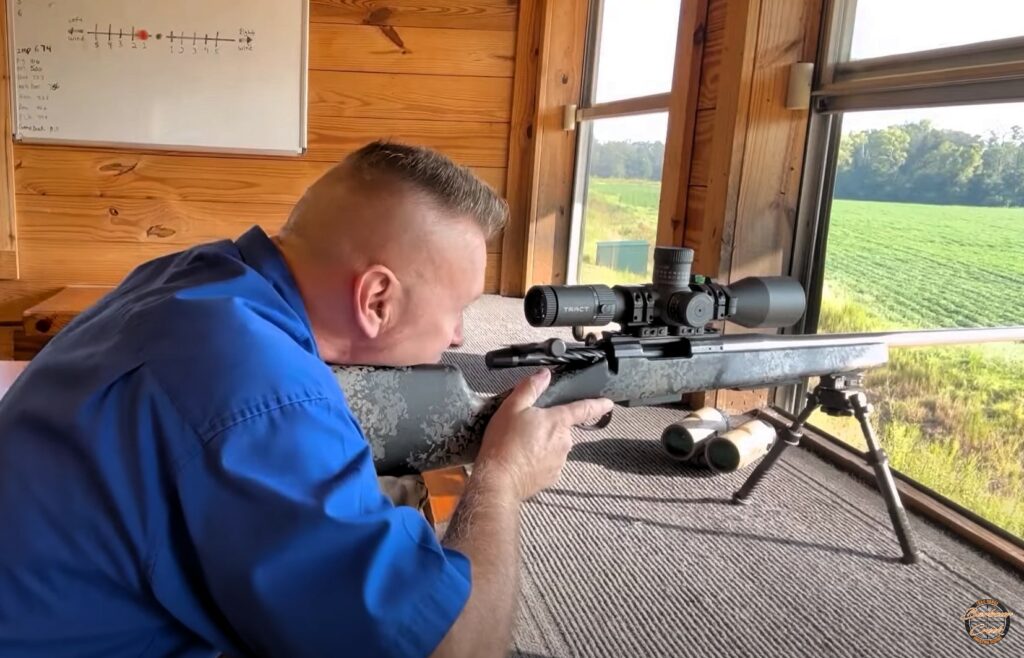
When I test eye relief, I like to make sure it’s set up just the way I’d use it in a hunting scenario. (For the purpose of the video that coincides with this blog, I’m shooting off a bench. If I were hunting outside in a prone position, I’d actually stand up and lean into the gun and adjust the scope position accordingly. But shooting off a bench mimics hunting out of a blind where you’d be sitting up.)
Be sure to push forward on the scope when you do initial tightening because you want the lugs from the rings to be pushed up against the base lugs. That way, during recoil, the gun going backward forces the scope forward.
Setting Up Your Ballistics Solver
Once everything is tightened up, I’ll hook a chronograph up to the barrel before sending some rounds down range to get initial velocities. This is an essential starting point to ensure you have proper velocities in your ballistics solver.
As you can see in the video, my first three shots are 2758, 2751, and 2757 feet per second (fps). When I plug the numbers into a ballistics solver, I’m inputting my range of 21.8515625 yards and turret dial-up of 30 MOA. Now, my initial tall target test showed about 7 inches. But the actual amount in the ballistics solver is 6.93 inches. This number gets plugged in for expected impact, giving me a correction factor of .99059.
Next, you’ll calculate muzzle velocity. In my case, I add 2,758, 2,751, and 2,757 together and divide by three to get a velocity of 2,755.33 fps.
Bullet information comes next. I’m shooting a 140-grain bullet that’s 1.38 inches long in a .264 caliber, and twist rate of 8 inches. My sight height is 2.25 inches; I calculate that by measuring from the center of the scope to the center of the barrel.
True the Ballistic Coefficient
Now I’m going to check my zero at 100 yards so I can “true” the ballistic coefficient (BC). When you're truing, you either true the ballistic coefficient or you true the velocities. In this case, I already know what the velocities are, so it’s the BC I’m looking for.
Fire two rounds at the target from 100 yards. Always two or more without adjustments! I never trust the results of a single shot.
Once I have my zero, I’ll run it out to a longer target, relying on my app to help me deal with the various factors like distance, wind speed, and Coriolis effect.
Because the Earth rotates on its axis, circulating air is deflected toward the right in the Northern Hemisphere and toward the left in the Southern Hemisphere. This deflection is called the Coriolis effect. This is why it’s so helpful to have an app that can direct you where to dial when shooting at extreme long distances.
In order to prep your scope for a long range hunt you’ll want to start with a tall target test and getting the correction factor. Then make sure you’ve got good eye relief so that you’re comfortable behind the rifle. Since I ran a chronograph, I was able to true the BC. If you don’t have a chronograph, leave the BC alone and true the velocities instead.
For more information, check out Barbour Creek Long Range Hunting & Shooting School.
