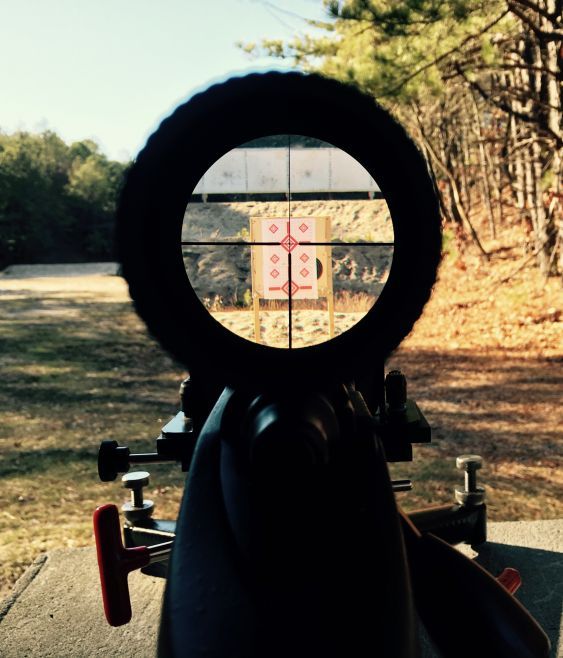
Curt Vaughn of Vaughn Precision explains how to box test your rifle scope. In this test, Curt will be using the TORIC 4-20x50 30mm MRAD/MRAD scope.
It is very simple to create your own rifle scope tracking test target following the steps below. You can also purchase a tracking target like the one from Box To Bench Precision. Please note that a box test needs to be performed with an extremely accurate rifle. If you rifle shoots a 1" group at 100 yards, you need to expect the point of impact to vary by that groups size.

Please note that a box test needs to be performed with an extremely accurate rifle.
How to Perform a Rifle Scope Tracking Test
Here's how to perform a rifle scope tracking test. Utilizing a large piece of cardboard or heavy weight paper (we recommend the target being at least 40 inches tall and 24 inches wide), start by placing an adhesive type bullseye in the lower center of the target. Depending on whether you have an MOA or MRAD scope you can determine the amount of distance between where you place the additional bullseyes on the target. But here is a good reference to start with:
If using a scope with MRAD adjustments: From the lower center bullseye measure precisely 2.5 MRAD (9 inches) left and right and mark each point with an adhesive bullseye. Accurate placement of each additional bullseye is very important. We recommend that you use a level and draw lines from one bullseye sticker to the next to make sure that the stickers are level and perpendicular to the initial bullseye. Then measure 5 MRAD (18 inches) and 10 MRAD (36 inches) up from the initial bullseye sticker as well as the 2 stickers you just placed left and right of the lower center bullseye. Then place a bullseye anywhere on the target that does not interfere with the other stickers that you can use for zero verification.
If using a scope with MOA adjustments: From the lower center bullseye measure precisely 10 MOA (10.47 inches) left and right and mark each point with an adhesive bullseye. Accurate placement of each additional bullseye is very important. We recommend that you use a level and draw lines from one bullseye sticker to the next to make sure that the stickers are level and perpendicular to the initial bullseye. Then measure 15 MOA (10.74 inches) and 30 MOA (31.41 inches) up from the initial bullseye sticker and well as the 2 stickers you just placed left and right of the LOWER center bullseye. Then place a bullseye anywhere on the target that does not interfere with the other stickers that you can use for zero verification.
Step 1 - Preparation
Make sure the scope is properly mounted, the reticle and target are level and the scope is zeroed.
Curt's Checklist:
- I always verify that the reticle in the scope is level by sighting on a plum line string. I have a plum line hung in my backyard, I set the rifle on the deck and sight 20 yards to plum line. I then place the vertical reticle crosshair on the plum line, and compare it to bubble level on my scope. This ensures everything is a match, or allows me to make adjustments if needed.
- I also make sure my target is perfectly level using a plum line. Simply hold a plum line on the center vertical line on the target (not touching the target) to help me level it up at the range.
- When I Shoot the test, I have not only my scope's bubble level, but I have the centerline on the target to see. This allows me to make 100% sure I’m level when I pull the trigger and eliminates the possibility of canting the rifle, which can change the point of impact.
- This ensures both the scope and target are equally level, avoiding tracking errors during the test.
 Make sure the scope is properly mounted, the reticle and target are level and the scope is zeroed.
I see it often, shooters not ensuring the scope and target are level to earth. Then they get angry, thinking it’s a scope problem when it’s simply something they overlooked.
Step 2 - Keep the same aiming point throughout the entire test (dialing process).
Having a tight group ensures confidence that the scope is zeroed and ready for the tracking test.
Step 3 - Make the desired adjustments, shoot and repeat.
Here's the sequence of the 11 shots taken to perform the test (remember to keep the same aiming point throughout all 11 shots):
- Shot 1 -– Initial aiming point
- Shot 2 – Dial up 5mil (equivalent to 18”)
- Shot 3 – Dial up 5 more mil (total of 10mils)
- Shot 4 – Dial to the left 2.5mils
- Shot 5 – Dial down 20 mils & to the right 2.5mils
- Shot 6 – Dial to the left 5mils
- Shot 7 – Dial up 20mils & to the right 5mils
- Shot 8 – Dial down 10mils & to the left 5 mils
- Shot 9 – Dial to the right 5mils
- Shot 10 & 11 – Dial down 5mils & to the left 2.5 mils (original starting point)